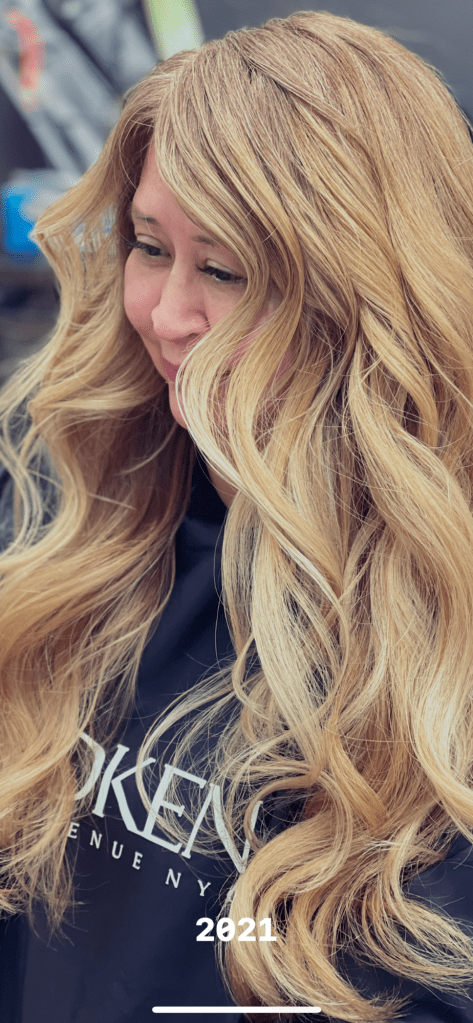
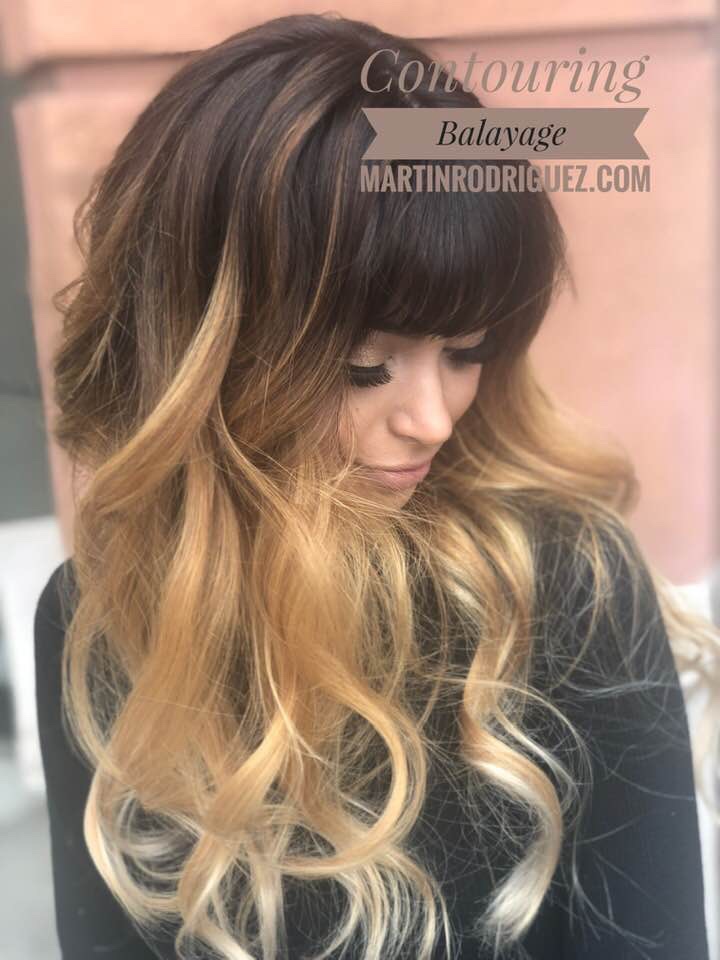
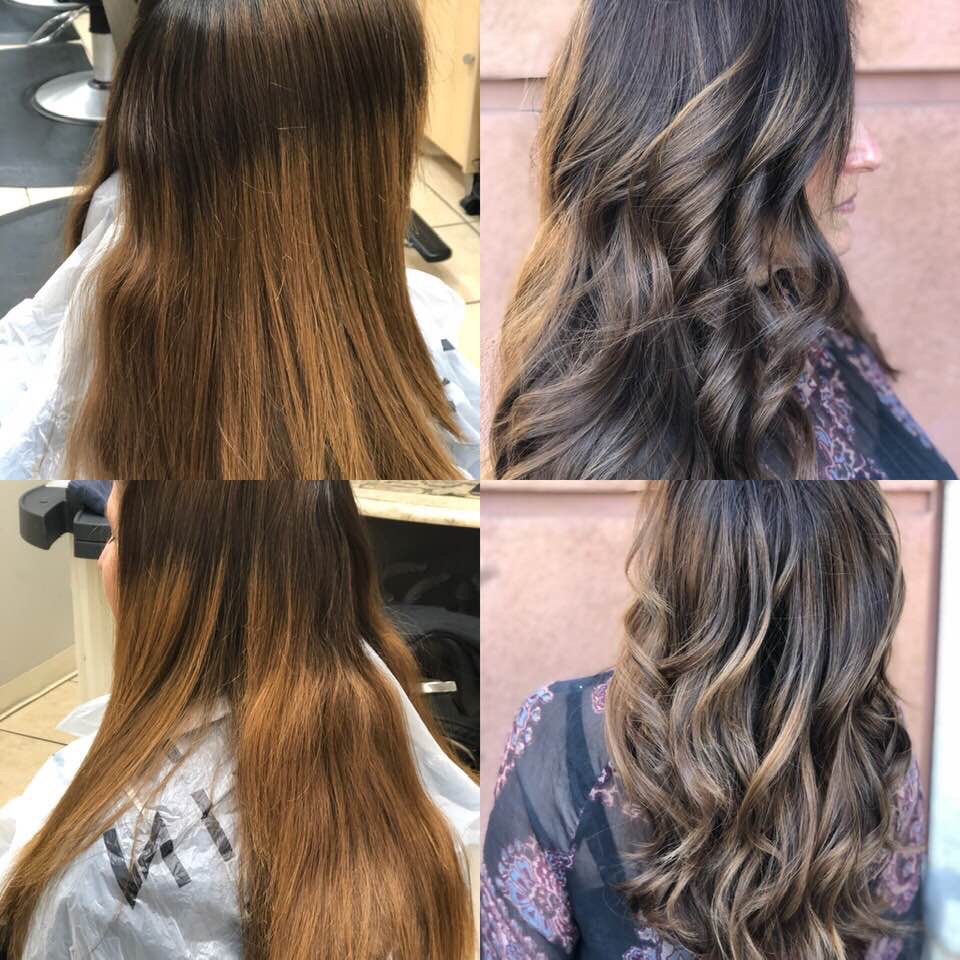
Creating a multi-dimensional balayage on long hair using the ColourWand balayage tools allows for precise application and seamless blending. Here’s how you, as Martin Rodriguez, could approach this for optimal results:
Step 1: Consultation and Prep
1. Determine the Look:
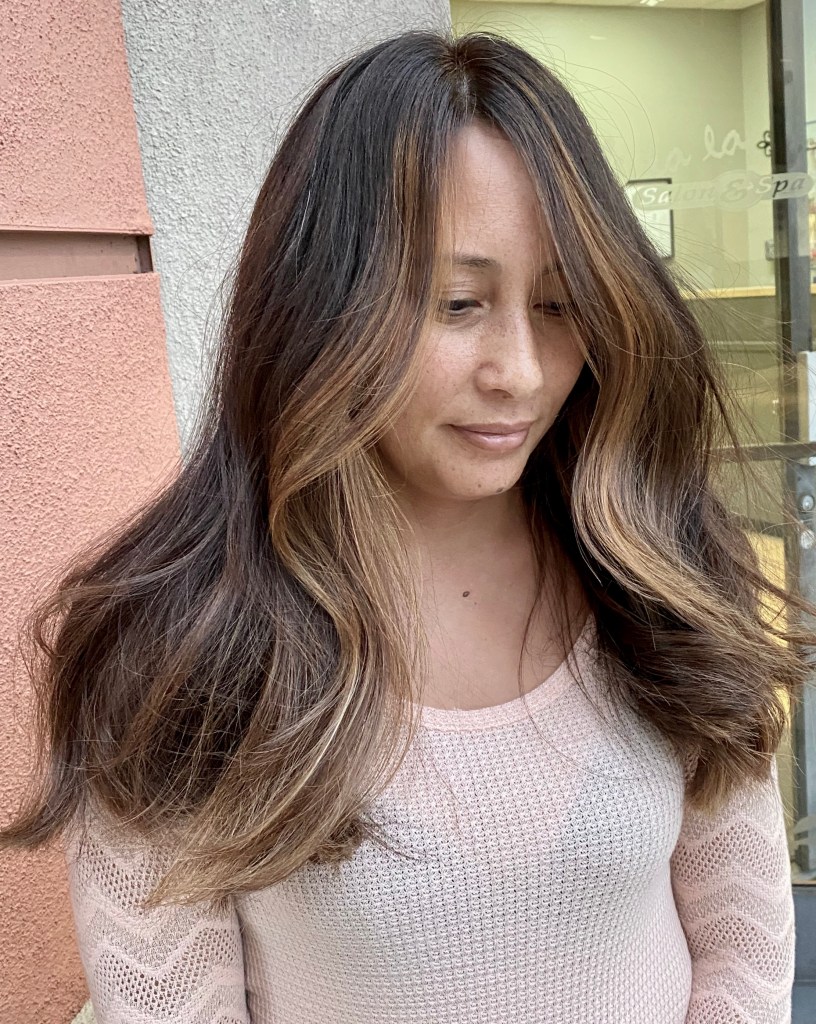
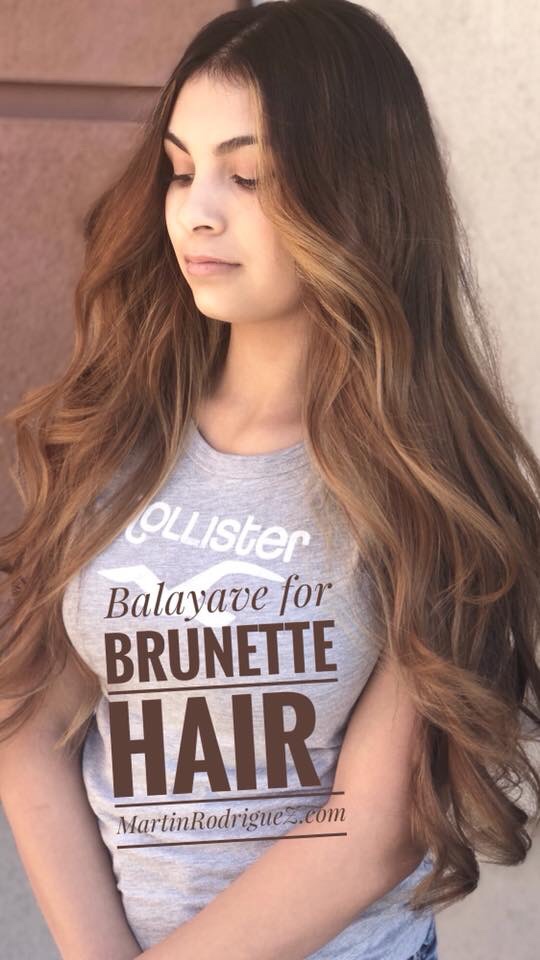
• Discuss the client’s desired outcome: soft sun-kissed tones, high contrast, or bold color transitions.
• Assess their natural base color, existing tones, and hair health.
2. Choose Colors:
• Select 3–4 complementary shades to create dimension:
• Base Color: Match or slightly deepen the root area.
• Lowlight: For depth, use a shade 1–2 levels darker.
• Mid-tone: A natural transition shade.
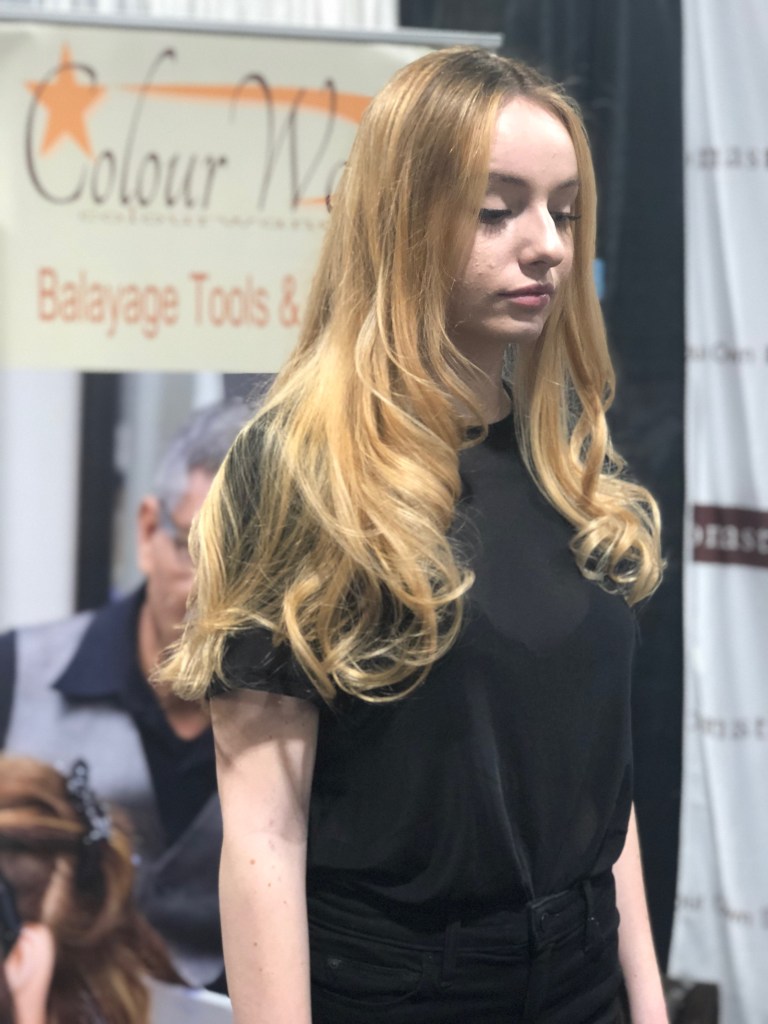
• Highlight: A lighter shade for brightness.
3. Prepare Tools:
• Use ColourWand tools to achieve precision placement.
• Have a paddle, balayage brushes, and sectioning clips ready.
Step 2: Sectioning and Base Application
1. Section the Hair:
• Divide into quadrants for control.
• Clip away top sections, leaving the nape area to begin.
2. Apply Root/Base Color (if needed):
• Paint the roots with the base color for depth, avoiding overlapping into previously lightened areas.
• Process as required before starting the balayage.
Step 3: Freehand Balayage with ColourWand Tools
1. Begin Painting:
• Use the angled ColourWand to glide color onto the mid-lengths and ends.
• Focus on the natural fall of the hair to mimic sunlight.
2. Layer Colors:
• Alternate between highlight, mid-tone, and lowlight shades.
• Blend each section seamlessly using a feathering motion.
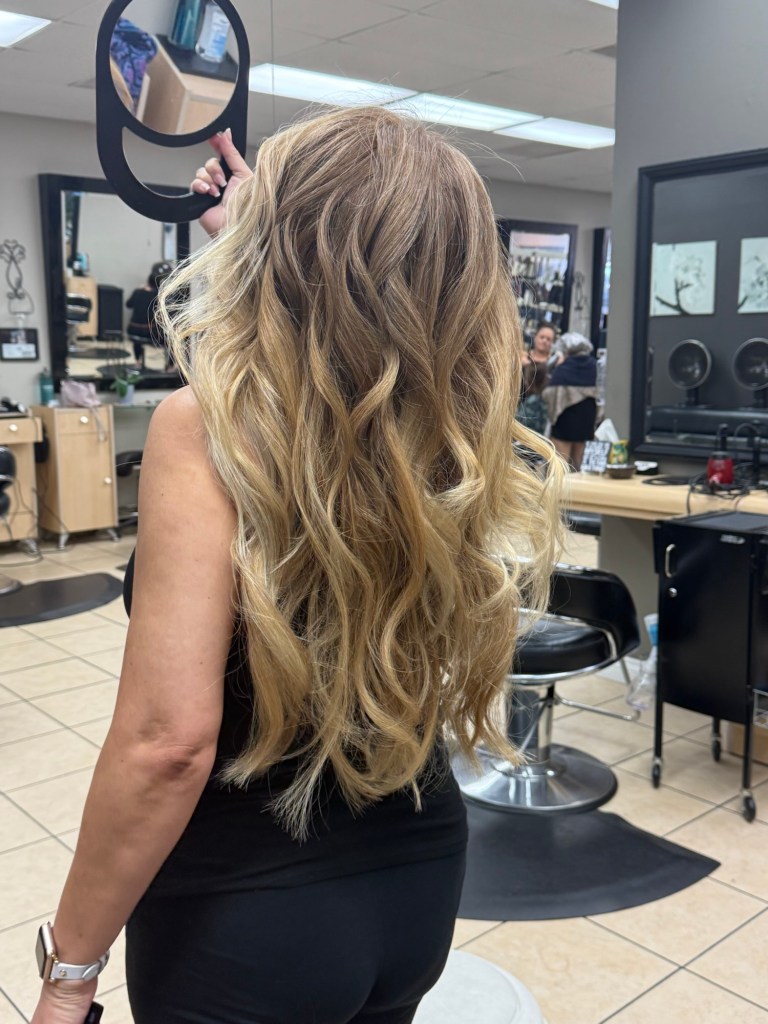
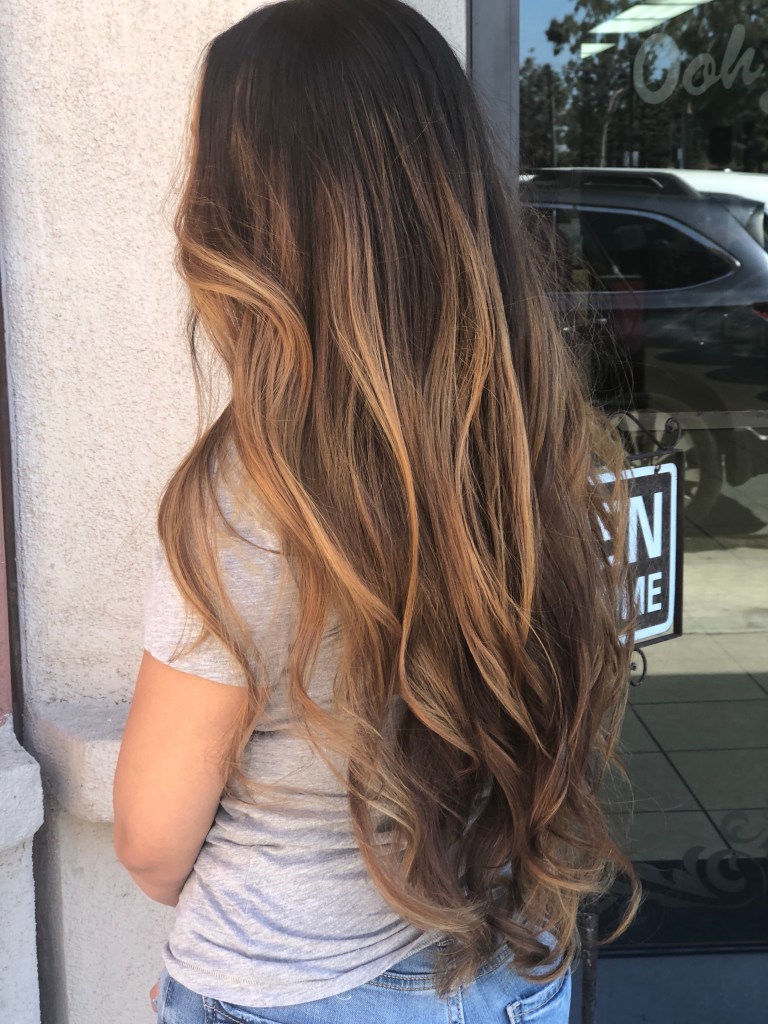
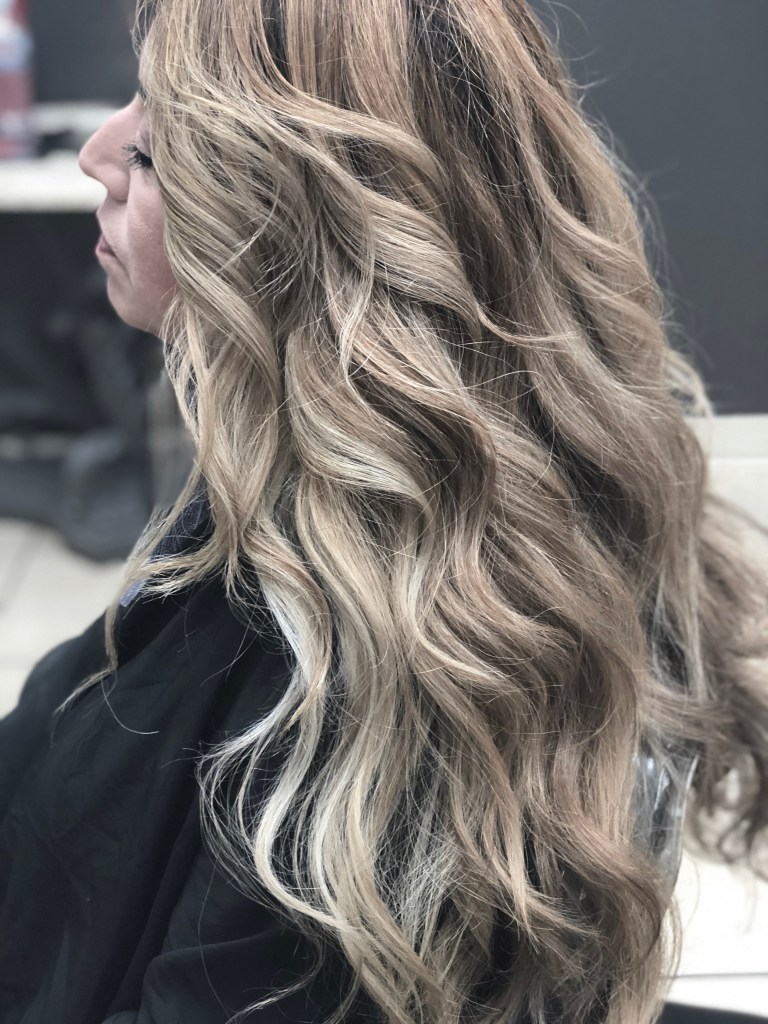
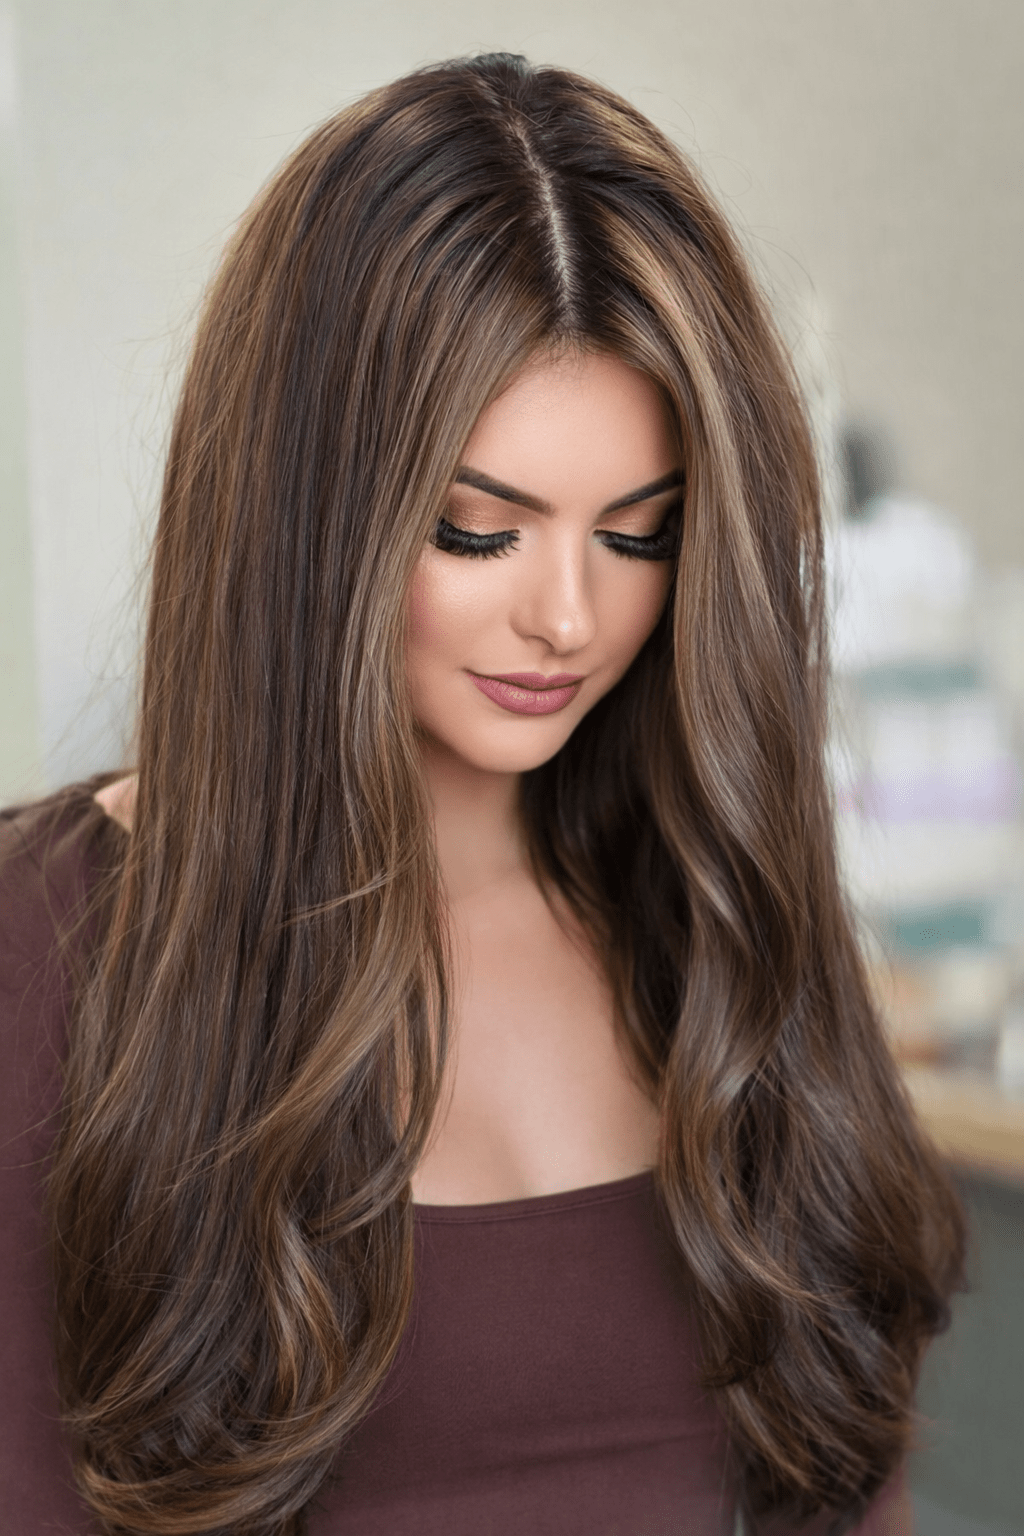
• For depth, apply lowlights beneath surface layers; for brightness, concentrate highlights around the face and crown.
3. Vary Saturation:
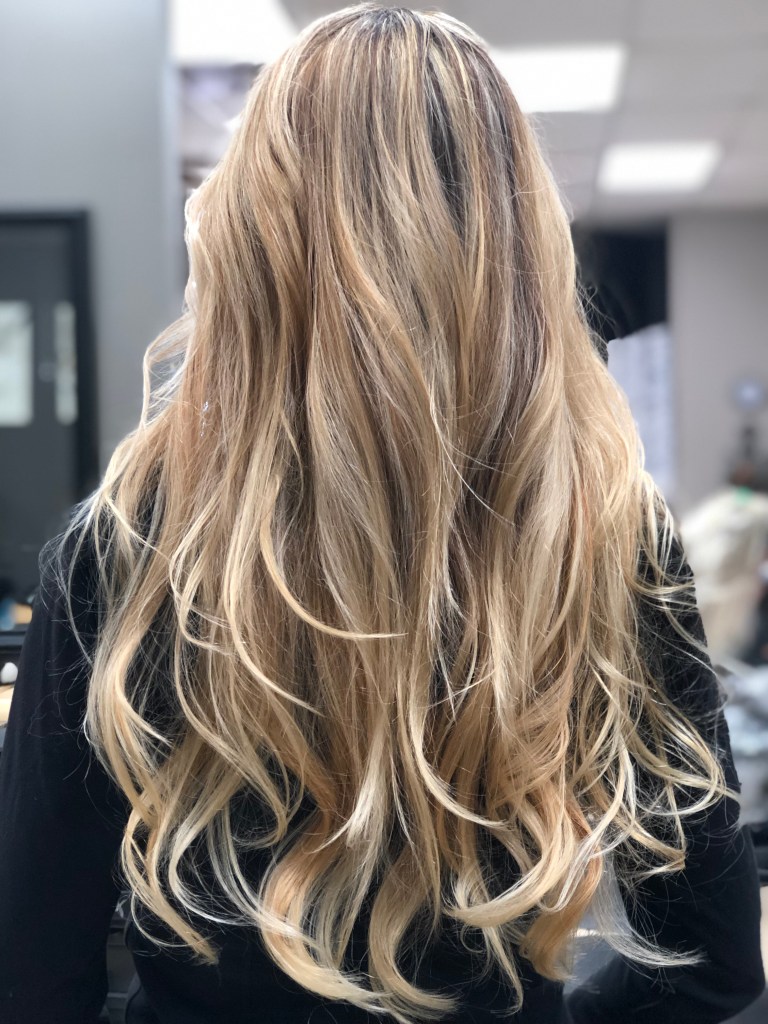
• Saturate the ends for brightness while keeping the mid-lengths softer for a gradient effect.
• Use the ColourWand’s precision design for fine, natural-looking strokes.
Step 4: Processing and Toning
1. Monitor the Lift:
• Allow the balayage to process naturally, checking frequently to prevent over-lightening.
2. Rinse and Tone:
• Rinse each section individually, starting with lighter ones.
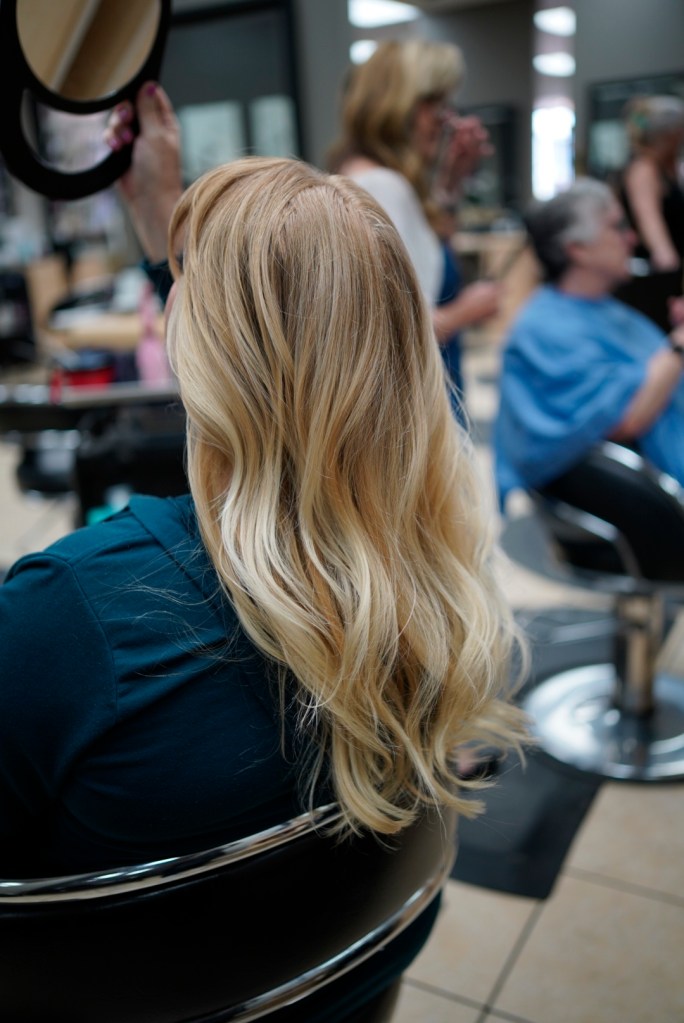
• Tone with shades that harmonize the base and balayage, ensuring multi-dimensional depth (e.g., ashy, golden, or caramel tones depending on the look).
Step 5: Finishing
1. Gloss Treatment:
• Apply a gloss to seal the cuticle, enhance shine, and balance tones.
2. Trim and Style:
• Trim the ends to maintain a healthy, polished look.
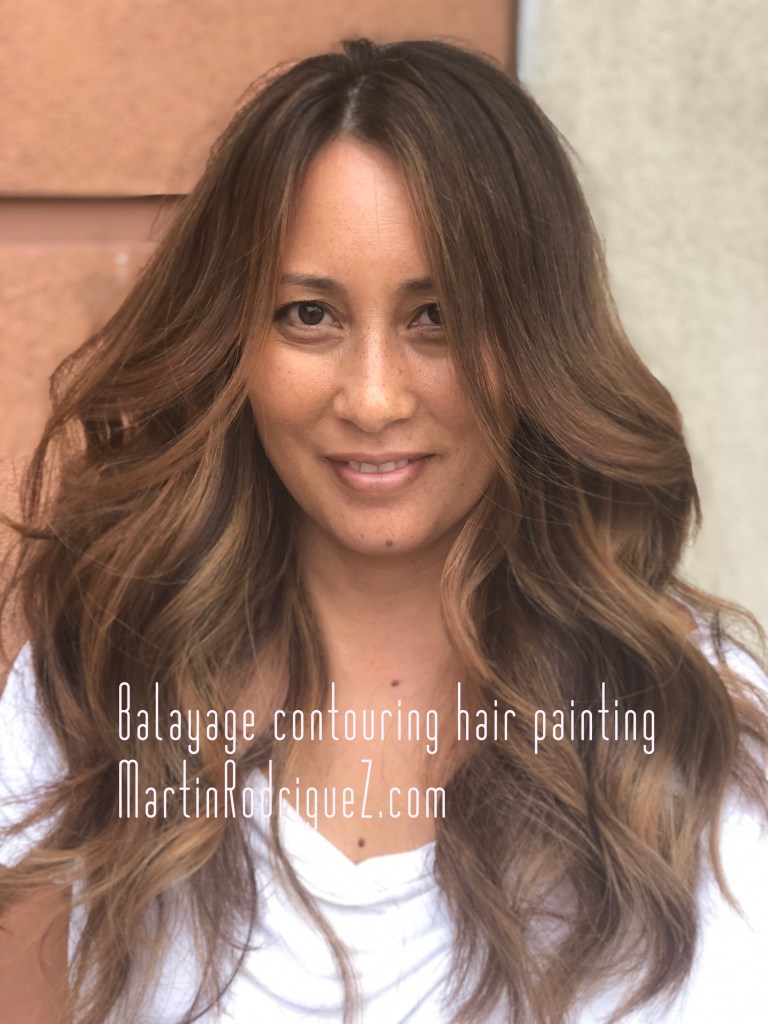
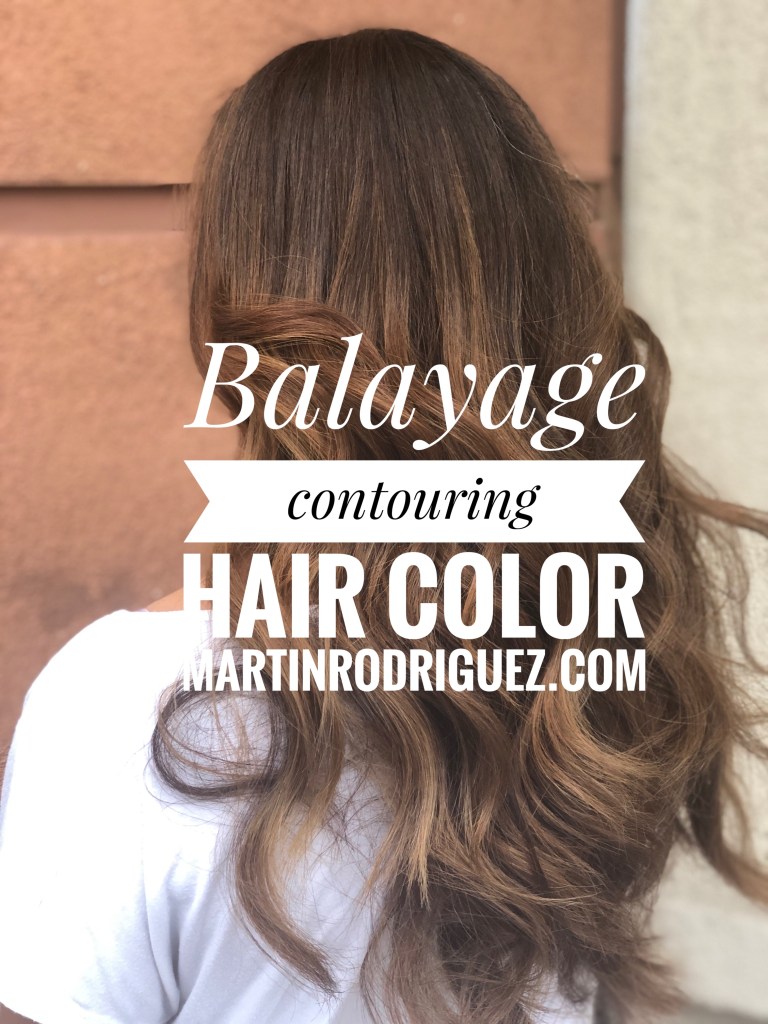
• Style with soft waves to showcase the blend and dimension.
Pro Tips for ColourWand Balayage
• Precision: Use the ColourWand for angled applications on long sections, ensuring consistency.
• Blend Lines: Feather the edges of each section to avoid harsh lines.
• Creative Placement: Add pops of lighter tones in hidden layers for a peek-a-boo effect.
• Customized Tones: Use a mix of warm and cool shades for a natural finish or stick to one tonal family for boldness.


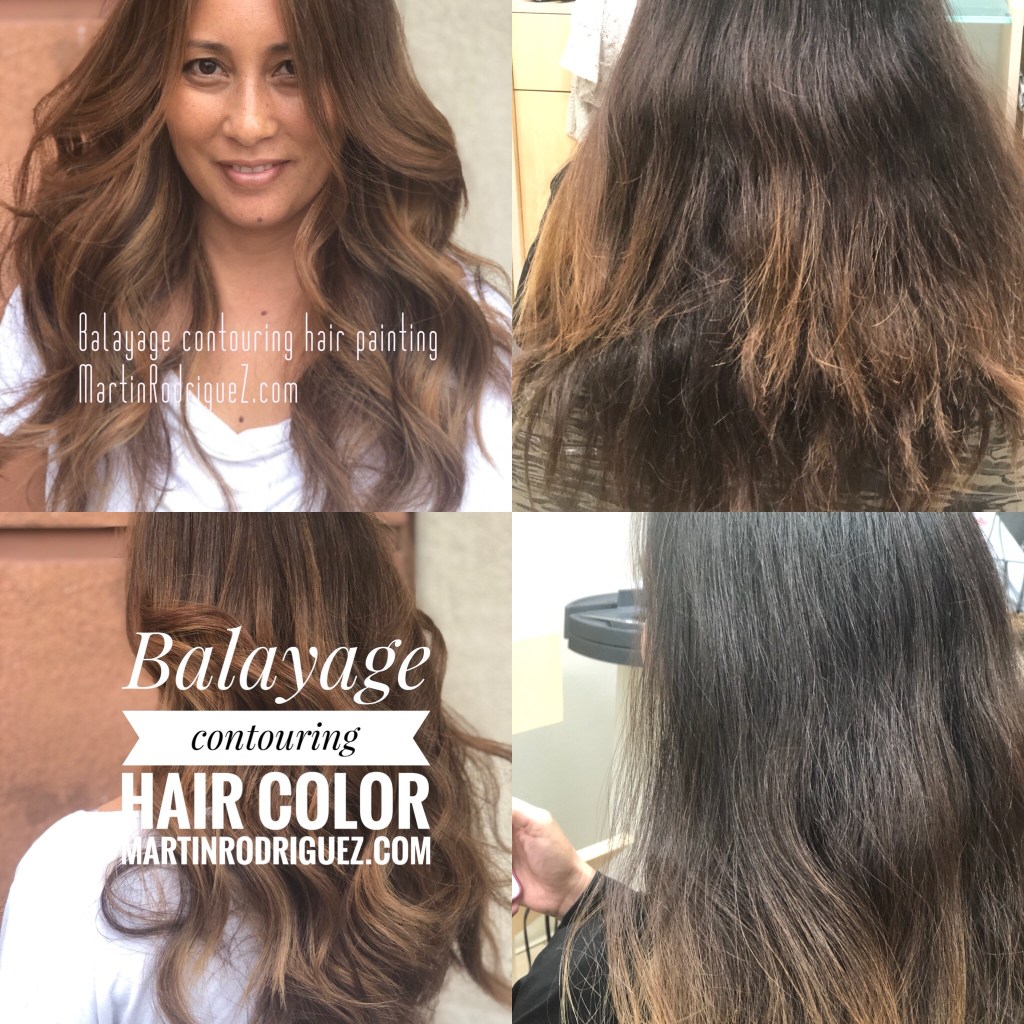

Would you like specific color formulations or additional tips ? If your unhappy with your current hair color please feel free to contact me for and appointment at
TEXT 714366-6964
All hair color appointments require a deposit no exceptions.

Leave a comment